Final Assembly
Some would say that at this stage I was almost there with the soil sensor project. All there was left to do was get the thing into the ground. Being that I am a flawed perfectionist, I had some other ideas . I was not going to simply chuck it in the ground without some more prevarication.
Anyway, onwards...
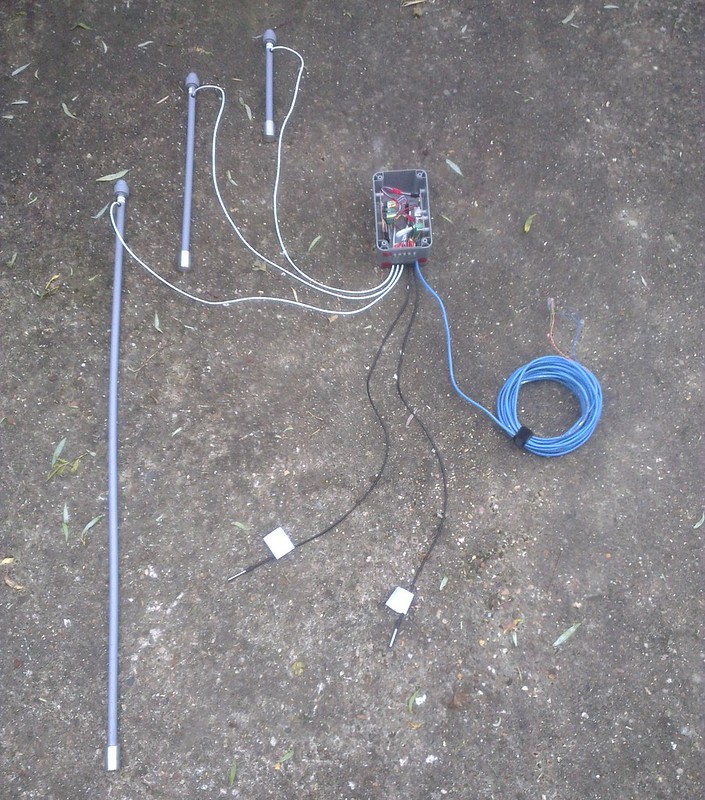
The next step in the assembly was to attach all the sensor cables to the main printed circuit board in the box. Apart from spending much time getting rubber grommets into place in the holes through the box, this was fairly straightforward. As can be seen below, this is how things looked once all the sensors were cabled up.

Sensors cabled up - ready for attachment to wooden post
Once this step was complete, it was time to move on to the burial (site Installation) phase.
Site Installation
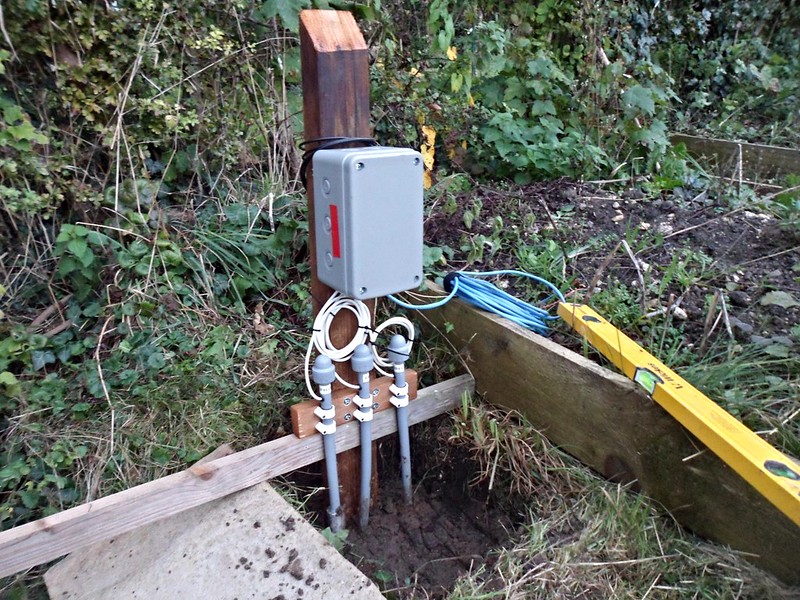
I decided early on that I would attach the box with the electronics inside to a post in the ground in close proximity to the sensors themselves, rather than have the sensors a long way from the electronics on long cables. This was to minimise the amount of cable trailing around the garden and have the advantage of other on-site measurement possibilities, such as minimum concrete and grass temperatures.
The wood work involved in making a post and small cross bar to attach the sensors to was very trivial indeed. Probably the most time consuming exercise was the dousing of all the wooden parts in wood preserver and the consequent wait whilst the parts dried.
There was a small moment of guilt when I returned to the site where I had originally dug the one meter deep hole for the sensors. Being that the excavation had taken place six months ago, and I had taken care to cover the hole with a concrete slab, I was not expecting to find any visitors within. Much to my sadness, a small number of frogs had managed to get down the hole and starve to death. Oh well, I thought, at least they will receive a decent burial.

System at the final burial stage
Regarding power supply and network connectivity I went down the same route as discussed here in part four of the cloud detection project: a CAT 5 cable delivering network, with two of the four unused cores delivery a supply voltage and a ground connection.
You may have noticed that there is a slant cut into the top of the post which is driven into the ground. This will eventually be the fixing place for a small roof to keep the worst of the rain from directly falling on the box of electronics.
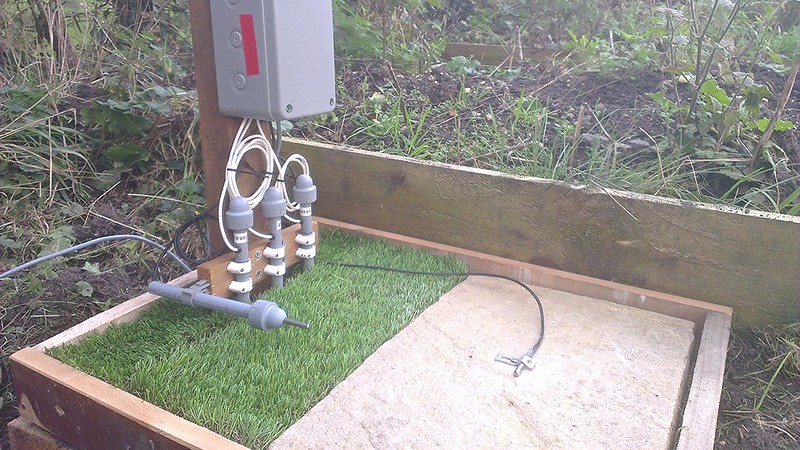
Apart from the roof, the final step for system installation was the addition of the minimum grass and concrete temperature sensors.

Concrete and grass temperature sensors installed
As part of the site preparation for the sensors I created a wooden frame from some scrap wood. I thought that the frame would keep the area looking a little tidier, would be easier to manage with respect to keeping weeds at bay and would provide a nice edge for the concrete slab and pieces of fake grass to butt up against.
Initial Start Up
Well, I am glad to report that due to the hours of prototyping and bench testing the system started up first time, with no hitches whatsoever. This was, more or less, what I was expecting and anything else would have been a disappointment. In addition to seeing that all sensors were connected and functioning, the system communicated with the rest of my network immediately and without error. So far, so good, you might say.
Fast forward two and a half days later and we have a slightly different story...
I set up a cron job on a local server to grab the data from the system every 15 minutes, and up to the time the system stopped responding, it had been flawless. Once the system stopped responding, that was it - no more data until a hard restart was made on the system (for that, read power cycle!). After a little research it looks as though the ENC28J60 module locks up for an indeterminate reason, becoming completely unresponsive until a reset is performed.
In short, there's some investigation to be done. Until next time!
Comments
comments powered by Disqus