Contents
The Whys and Wherefores of Soil Temperature
This project has its roots in a chance sighting of some, what I thought were, interesting looking API parameters on the Met Office weather data submission service. I've been running a small weather station for about a year with its data output being harvested by a RaspberryPi and packed off to the Met Office observation service.
Many months ago a friend and I were idly browsing to see what other interesting data people were collecting and sending there when we spotted, to our surprise, soil temperature measurements using sensors buried at 10, 30 and 100 centimetres. These depths are certainly not arbitrary; they may represent three of the many soil horizons: A, B and C (See the Wikipedia page regarding soil horizons). This sparked off a thoughts on the possibilities of home made sensing, gathering and aggregating soil temperature readings to a service on the internet.
You may ask why people would be interested in measuring soil temperature in the first place. The temperature of the soil affects many processes within it, such as chemical processes, the breakdown speed of organic materials, how fast micro organisms work and the time taken for seeds to germinate. All these are of course affected in turn by the soil type and profile i.e. sandy versus clay soils, wet versus dry, plant cover, sunny or shaded aspect and so on. Being that my interest is purely meteorological, I will attempt to set up soil temperature measurement based approximately on Met Office guidelines.
Now clearly, measuring soil temperature means needing to bury a sensor in the soil and everything that entails being exposed to the elements i.e. rain, extremes of heat and cold and possible intrusion from soil dwelling creatures and so on. I am therefore going to have to make sure that the sensor I find is suitable for the environment.
You may at this point be wondering what would be used to get the data from these sensors. Well, there are two simple options: RaspberryPi or Arduino - I am going to check out the Arduino because that is the ideal fit for this particular project; small versions of the Arduino are relatively inexpensive and I think that a RaspberryPi would be overkill for such a simple task.
The Trusty DS18B20
After some further research into sensors it seems that there is one ideal candidate sensor for the job, both in terms of dealing with the environment and also not too expensive.
The DS18B20 is a 1 wire digital programmable resolution contact thermometer neatly built in, amongst other options, a TO92 package. It offers an impressive set of characteristics; just take a look:
- Supports 1-wire protocol
- User selectable resolution from 9 to 12 bit
- Individually addressable (feature of 1-wire)
- 750ms response time
- Can be directly or parasitically powered via the data line
- Measures Temperatures from -55°C to +125°C
It is available from a wide range of suppliers on line, so go google for it.
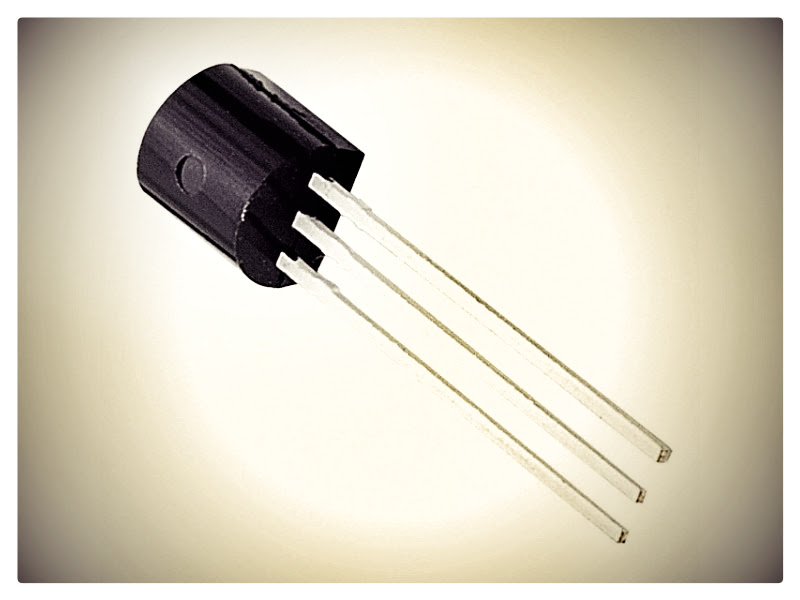
The DS18B20 as-is
As well as a naked TO-92 package, lots of people offer the DS18B20 as a packaged and wired version, whereby the TO-92 version of the sensor is potted into a small stainless steel tube complete with a heat shrunk 1 metre cable. This version seems the most useful as it provides adequate (and waterproof) protection for the sensor. Just Google or take a look on Ebay for these - they are not usually particularly expensive, especially if you are happy to wait 4 weeks for postage from Hong Kong!
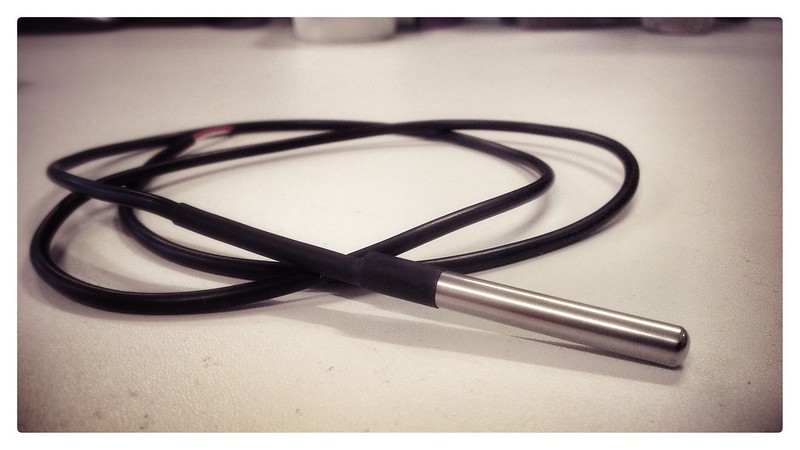
A packaged version of the DS18B20
As you can see from the above photo the package is pretty well made and ideal for outdoor experimentation.
With a decision made, it is time to play with a sensor or two.
Connecting Some DS18B20 Sensors to an Arduino
Connecting the DS18B20 to an Arduino could not be easier; in order to use it in powered mode (not on parasite power) you just need ground, positive supply and a data line, in this case, to digital pin 3. You will also need a pull up resistor, in this case 4K7, between the positive and data lines.

DS18B20 with an Arduino
In the circuit above there are two sensors connected and I am using three of the four busses on the breadboard for power, ground and data respectively, from top to bottom. Basically this enables one to connect as many sensors as required.
With regards to finding some code to actually read data from these probes you'll probably find many examples, such as the Arduino Playground example, some reading from the devices directly and others using Miles Burton's excellent Dallas Temperature Control Library.
With a view to minimising the number of libraries I might require down the road, below is a slightly more complex method for directly addressing a number of DS18B20 probes, only using the standard OneWirelibrary.
1 2 3 4 5 6 7 8 9 10 11 12 13 14 15 16 17 18 19 20 21 22 23 24 25 26 27 28 29 30 31 32 33 34 35 36 37 38 39 40 41 42 43 44 45 46 47 48 49 50 51 52 53 54 55 56 57 58 59 60 | #include <OneWire.h>
// Data wire is plugged into pin 2 on the Arduino
#define ONE_WIRE_BUS 3
// Scratchpad locations
#define TEMP_LSB 0
#define TEMP_MSB 1
OneWire sensor_bus(ONE_WIRE_BUS);
// Probe addresses - obviously, you need to provide addresses for your own probes
uint8_t dev1[8] = { 0x28, 0xC8, 0xCC, 0xBF, 0x04, 0x00, 0x00, 0xB6 };
uint8_t dev2[8] = { 0x28, 0xBA, 0x17, 0xD0, 0x04, 0x00, 0x00, 0x64 };
uint8_t dev3[8] = { 0x28, 0xE3, 0x67, 0xCE, 0x04, 0x00, 0x00, 0x9C };
void setup(void)
{
// start serial port
Serial.begin(9600);
}
void loop(void)
{
Serial.println(get_temperature(dev1));
Serial.println(get_temperature(dev2));
Serial.println(get_temperature(dev3));
}
float get_temperature(uint8_t *address) {
byte data[12];
int t_lsb, t_msb t_read, sign_bit, x;
sensor_bus.reset();
sensor_bus.select(address);
sensor_bus.write(0x44,1);
sensor_bus.reset();
sensor_bus.select(address);
sensor_bus.write(0xBE,1);
// Read in 9 bytes
for(x=0; x<9; x++){
data[x] = sensor_bus.read();
}
t_msb = data[TEMP_LSB];
t_lsb = data[TEMP_MSB];
t_read = (t_lsb << 8) + t_msb;
sign_bit = t_read & 0x8000; // test most sig bit
// sign_bit == -32768 when negative, 0 otherwise.
if (sign_bit) {
t_read = 0 - ((t_read ^ 0xffff) + 1); // 2's comp
}
return (float) t_read * (float) 0.0625;
}
|
Comments
comments powered by Disqus